Admin User Manual
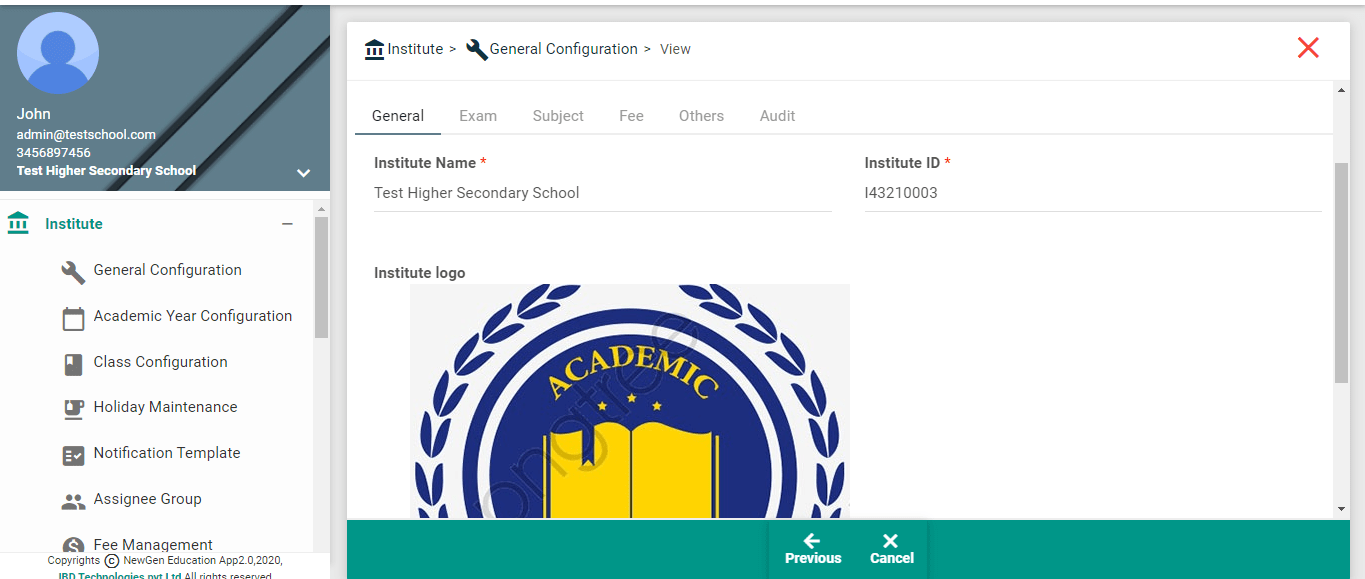
- General – Configuration of the institute name and institute logo.
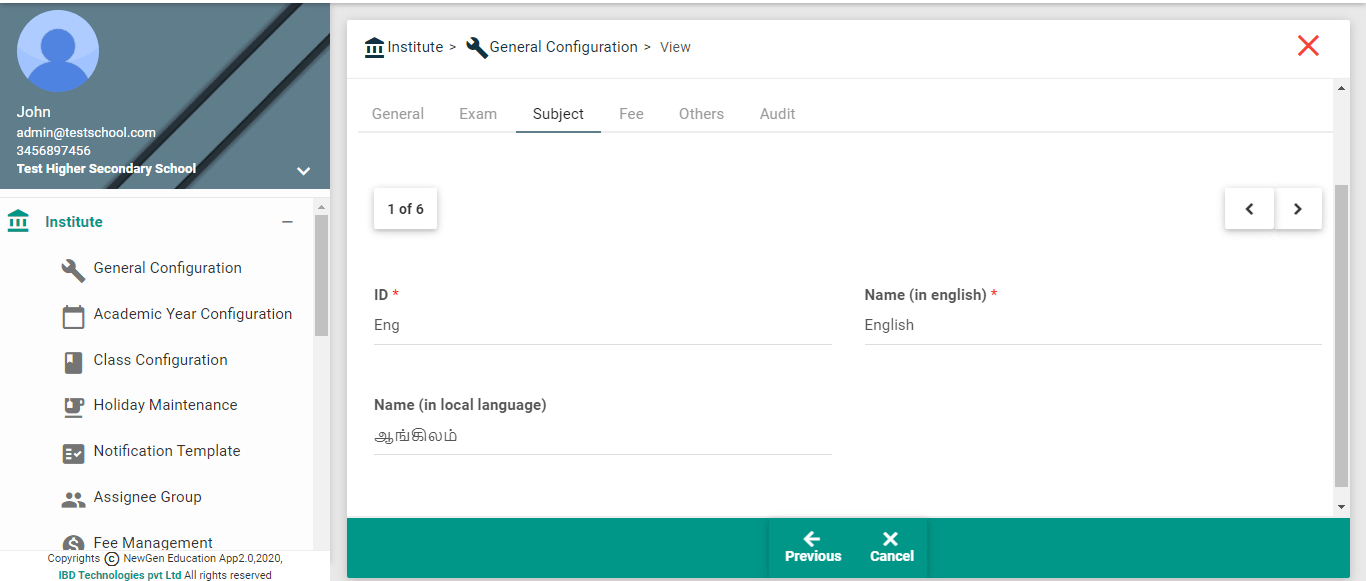
- Subjects - Configuration of the subject helps to provide the start-up data of subjects that will be taught in an institute.
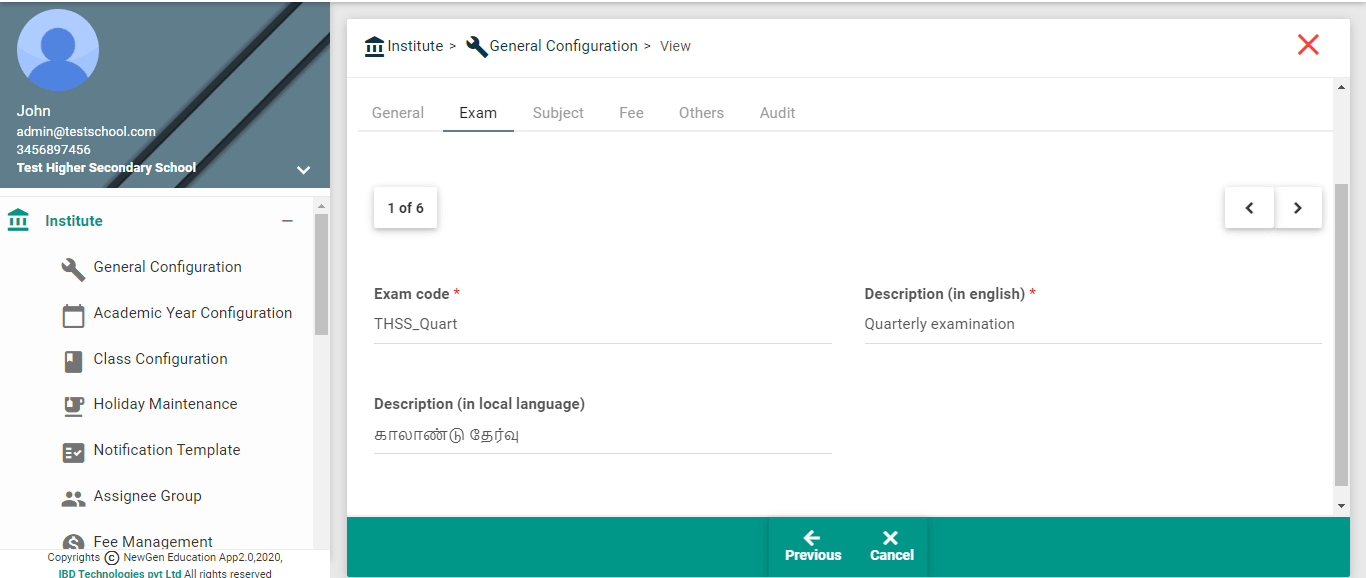
- Exam - Configuration of the exams helps to provide the exams conducted by the institute.
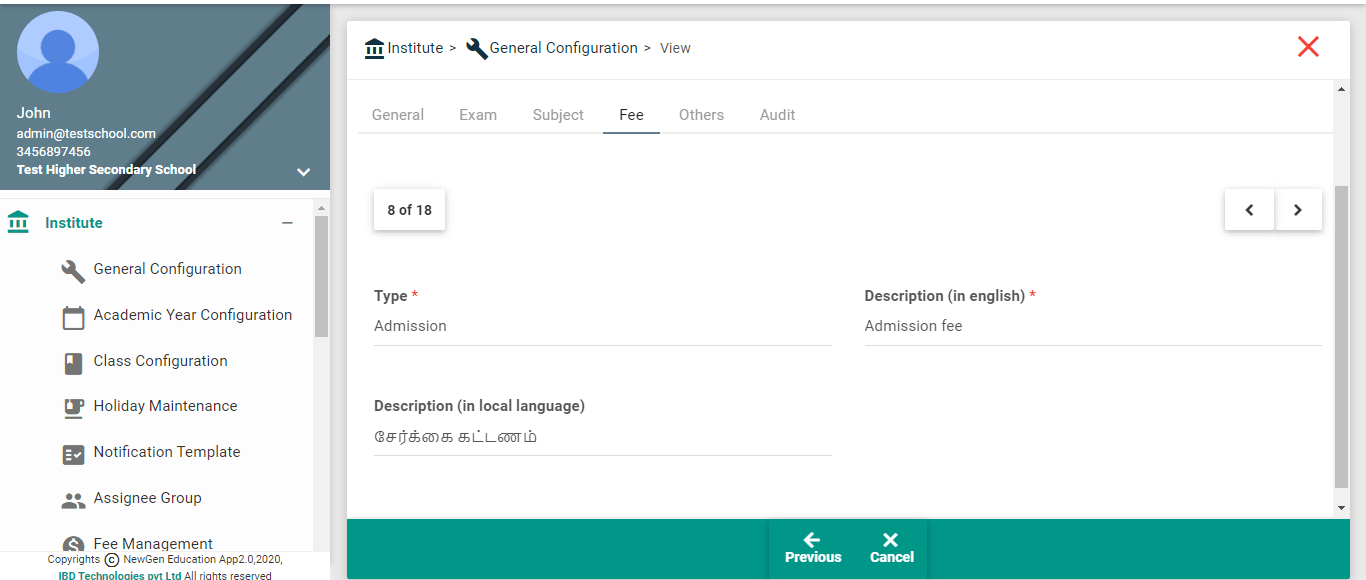
- Fee - Configuration of the fee types help to provide the types of fee collected by the institutes.
- Others - Other configuration details provided during signup can be changed here.
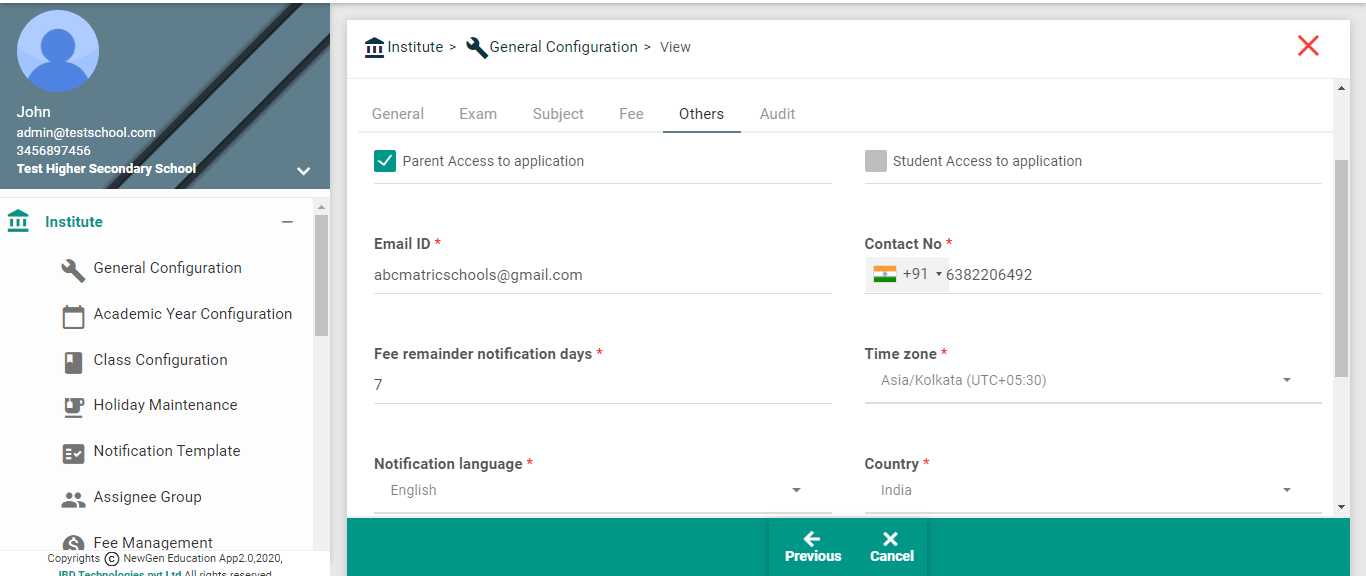
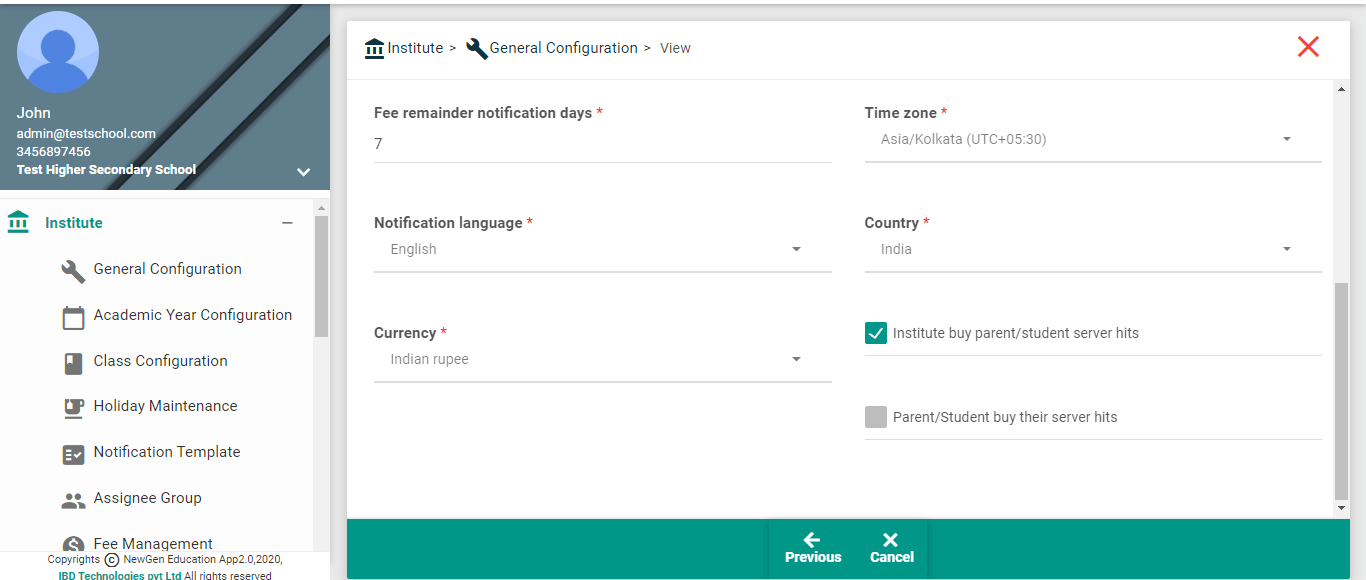
- You cannot create General Configuration.
- It will be created automatically when you sign up the application.
- Choose Menu (Configurations > Institute General Configuration) from Menu tree.
- Click “View” in the step1.
- Then System will bring full detailed view of the record; You can see General, Exam, Subject, Fee and Audit tabs. You can click the tab to see corresponding details.
- Choose Menu (Configurations > Institute General Configuration) from Menu tree.
- Click “Edit” in the step1.
- System will bring full detailed view of the record; you can see General, Exam, Subject, Fee and Audit tabs. You can click the tab to modify corresponding details.
- Change the existing details with the new ones, for the desired configuration.
- If the Institute wants to add the new subject in subject configuration.
- Press “+” button, New empty record will be created
- Then enter subject id and name
- If the institute wants to remove a subject in subject configuration,
- Press “-” button, current subject will be removed
- Click “Next” in the bottom on the screen.
- Once you reach last step, you may enter remarks about the modification. This remark can be seen in the field ‘maker remarks’, under the audit tab of the full record view. If maker of the record wants to convey some message to checker or they want to keep some notes, they can type it here. Checker can see the same before authorization under the audit tab in the screens.
- Click “Save”.
- If there is a typographical error in the created record.
- If there is a need to introduce a new configuration, say for instance, to add a new Examination.
- If there is a need to remove an existing configuration, say for instance, to remove a subject from the institute.
- If institute wants to change the configuration details mentioned during signup
General configuration can be authorized by following the below steps.
- Choose Menu (Configurations > Institute General Configuration) from Menu tree.
- Click “Authorize” in step1.
- The unauthorized general configuration record will be displayed.
- Click “Next” in the bottom on the screen.
- Once you reach last step, if you want to enter any remarks about this authorization or rejection, you can enter here. This can be viewed under “Checker Remarks” field of audit tab of the full record view.
- Click “Auth” or “Reject”.
- After creation or modification, in order to apply the changes throughout the application, it requires an authorization or verification from the admin.
- During verification Admin can find the human errors.
- Institute Name & Institute logo configured in the general configuration screen is used in parent notifications, reports and in application header.
- Subjects configured here is used for timetable and examination schedules and assessment features in the application.
- Exam types configured here is used for examination schedules and assessment features in the application.
- Fee types configured here is used for Fee and Payment feature of the application
- Institute can allow or disallow parent/student access here
- Institute can mention mail ID here which will be used to send parent mail notifications
- Institute can configure here their local time zone
- Currency mentioned here will be used to handle fee transactions in your Institute
- Notification language configured here will be used as the language for sending parent notification messages
- Fee remainder days configured here will be used as the number of days before and after due date institute wants to send fee remainder notifications
- Institute can configure whether Institute will buy the server hits usage for parent/student or parent/student will buy their server hits usage
- Mention the minimum age of students to allow access to app in the field named “Allow student login for the student who completed age"