Admin User Manual
- Click "Sign Up" button on the top-right of the screen.
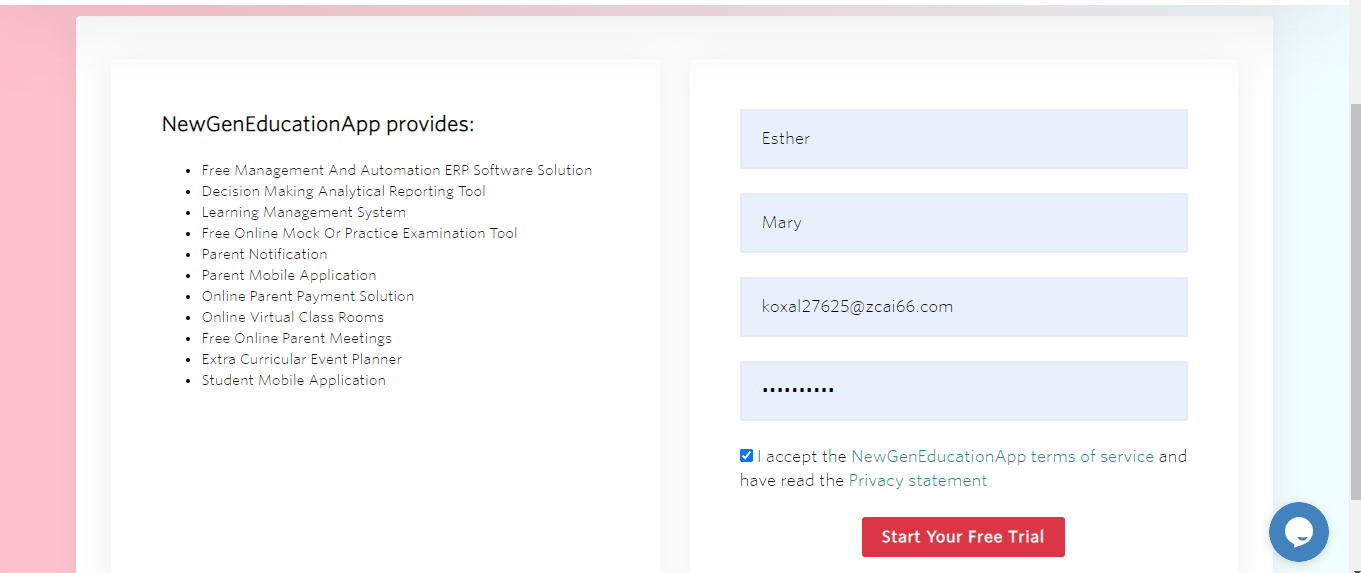
- Mention your first name, last name, email address & password.
- The password given here will be used to login into NewGenEducationApp.
- Accept our terms of service by ticking the checkbox.
- Click "Start Your Signup for free"
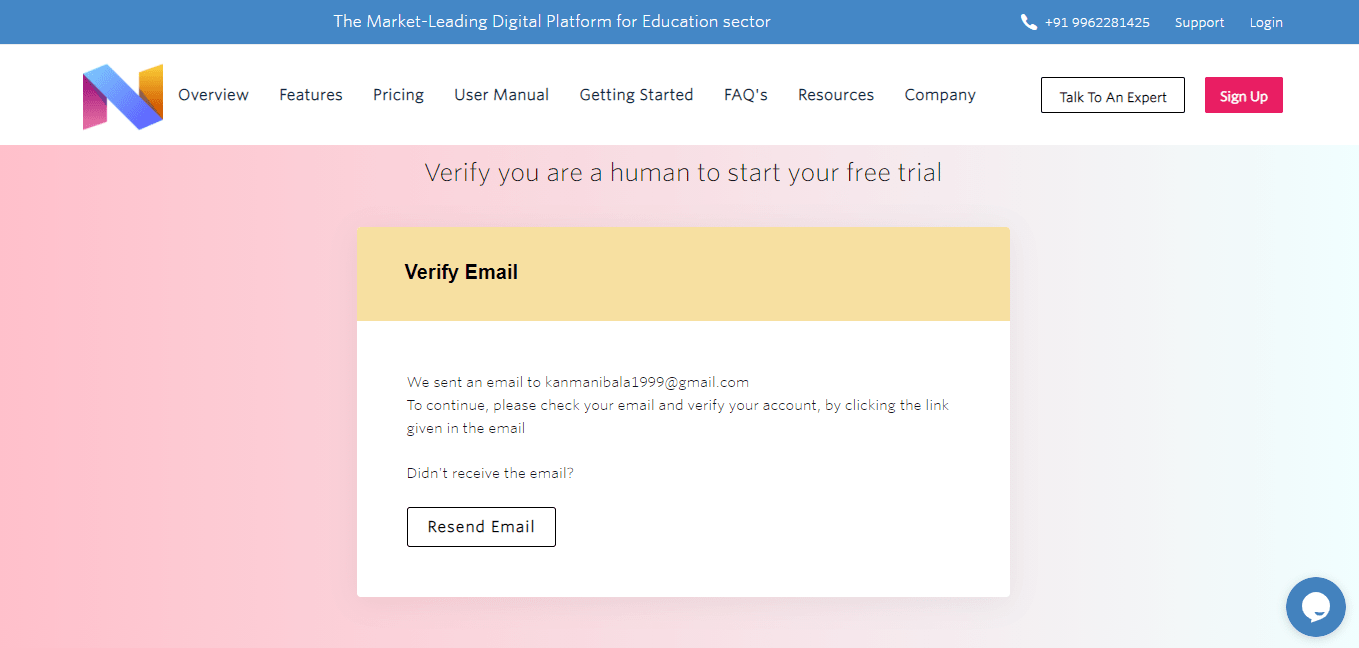
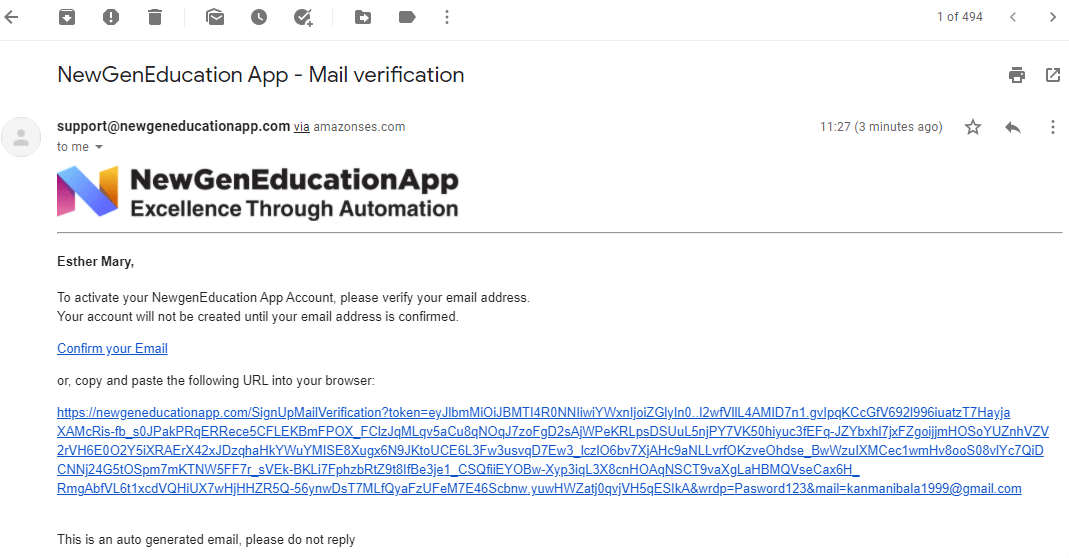
- A verification link will be sent to your email.
- Click 'confirm your email' or simply copy-paste the link.
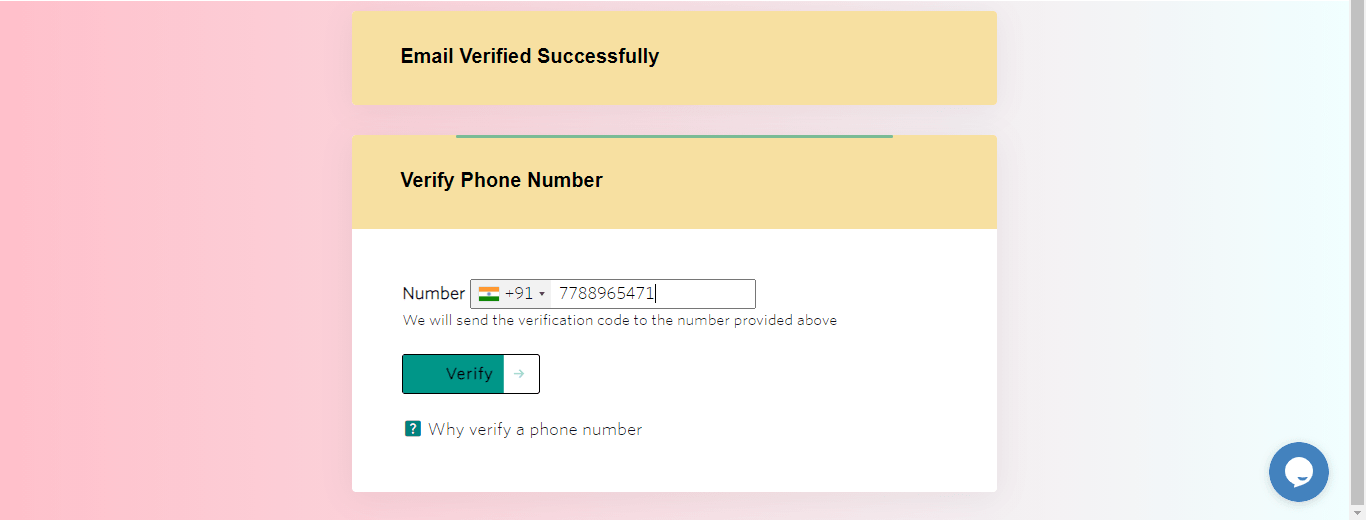
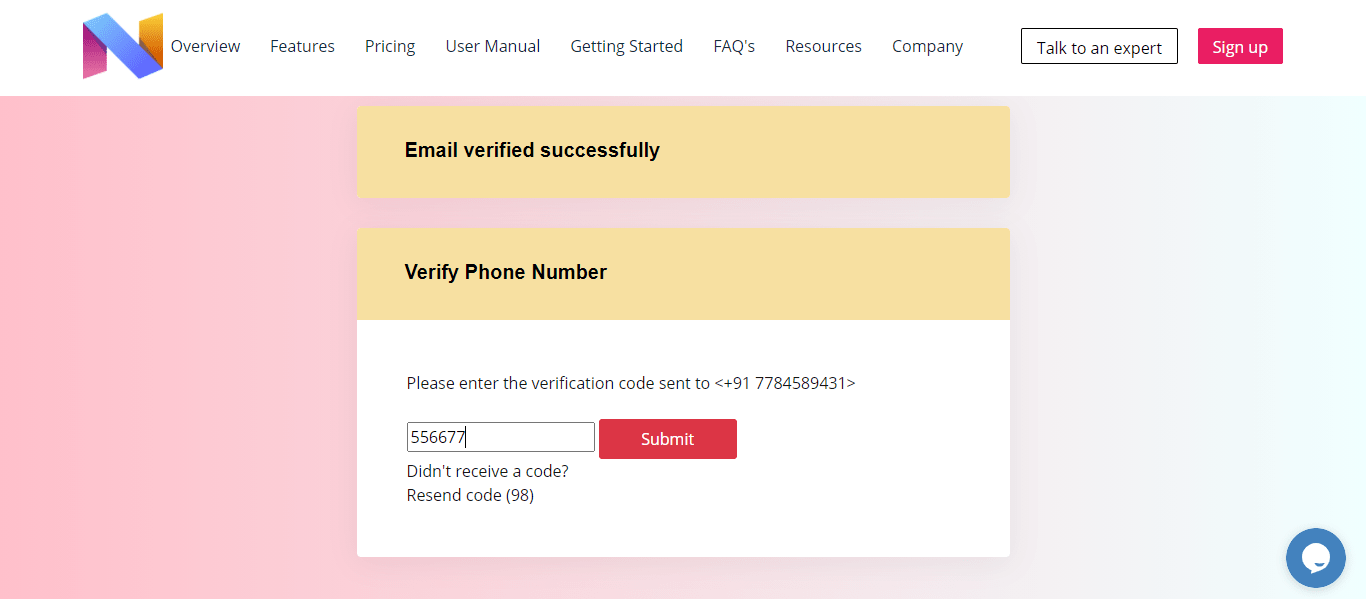
- Select the country code & Mention your phone number
- Click verify button.
- A verification code will be sent to the given mobile number.
- Mention the code and click "submit”.
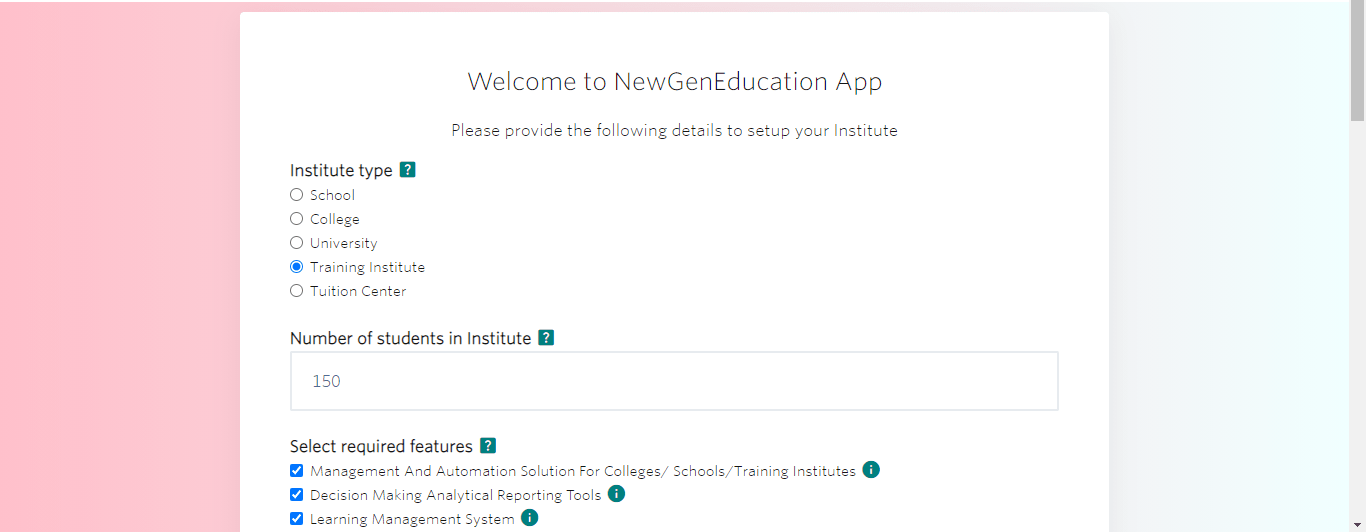
- Select the Institute type that better suits your Institute.
- Mention the number of students in the Institute.
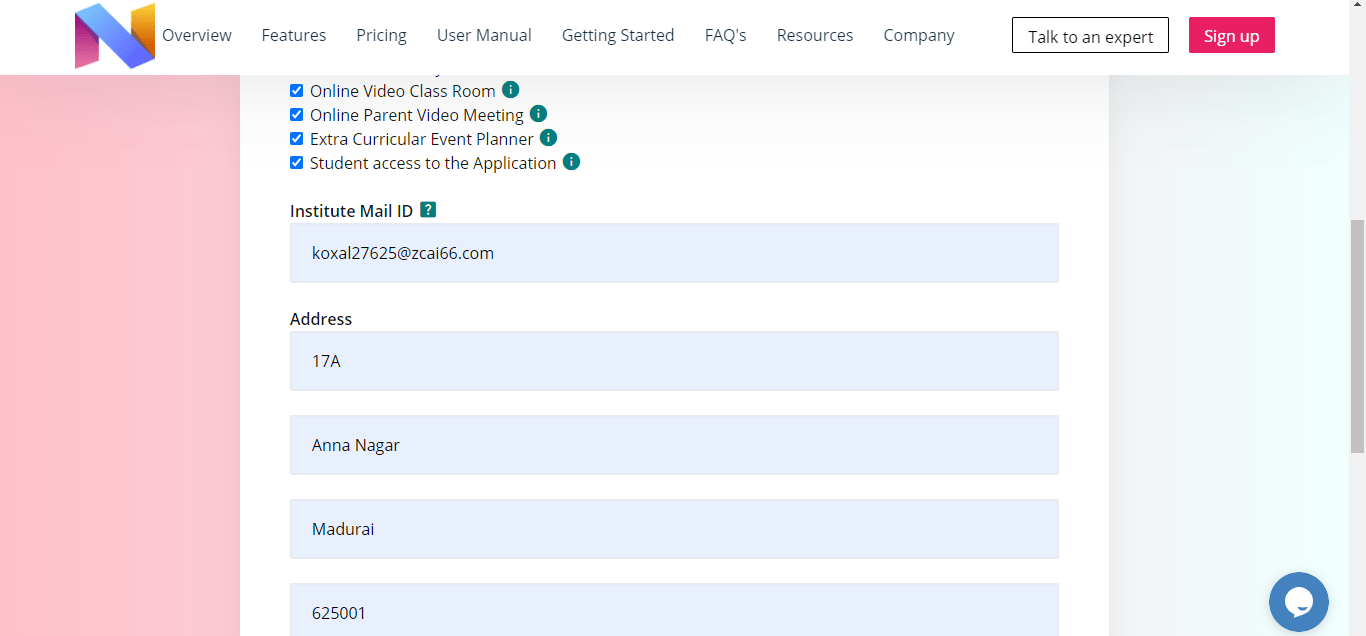
- Select the required features.
- Mention whether Institute will buy the server hits usage for parent/student or parent/student will buy their server hits usage.
- Mention the Institute mail ID from which the parent mail notifications will be sent.
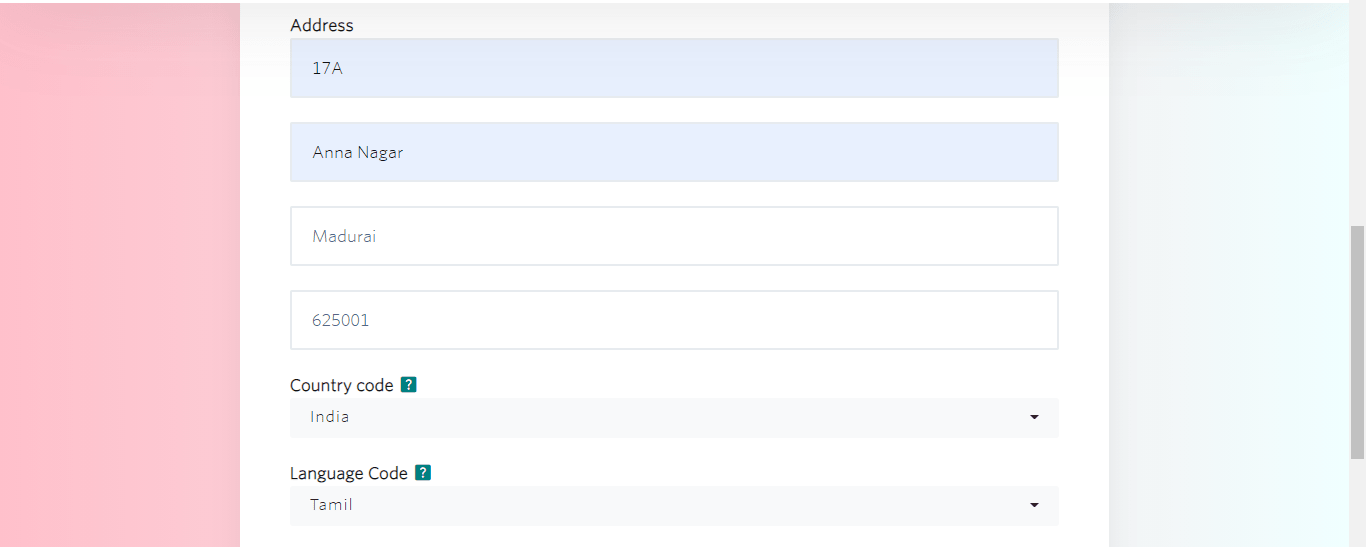
- Mention the address of your Institute.
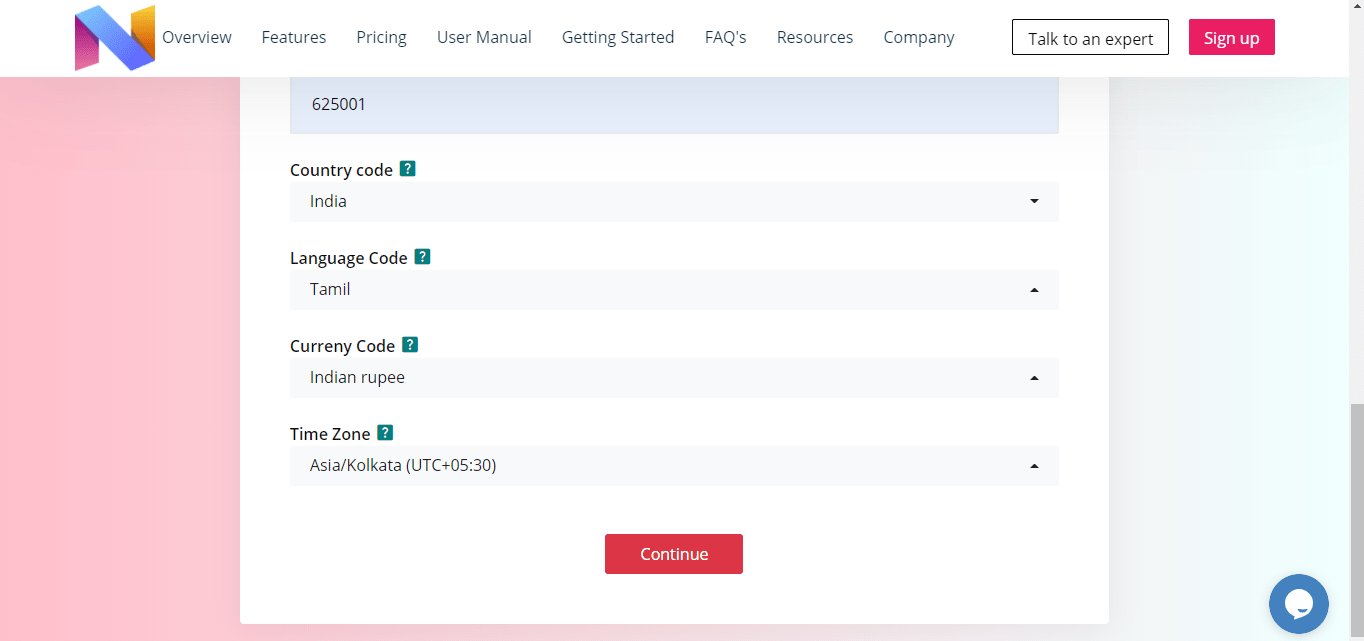
- Mention the Country in which your Institute is located at.
- Mention the local language spoken in the geographical area where your Institute is located.
- Mention the currency which is used to handle transactions in your Institute.
- Mention the Time Zone at which your Institute is located at.
- Click the continue button.
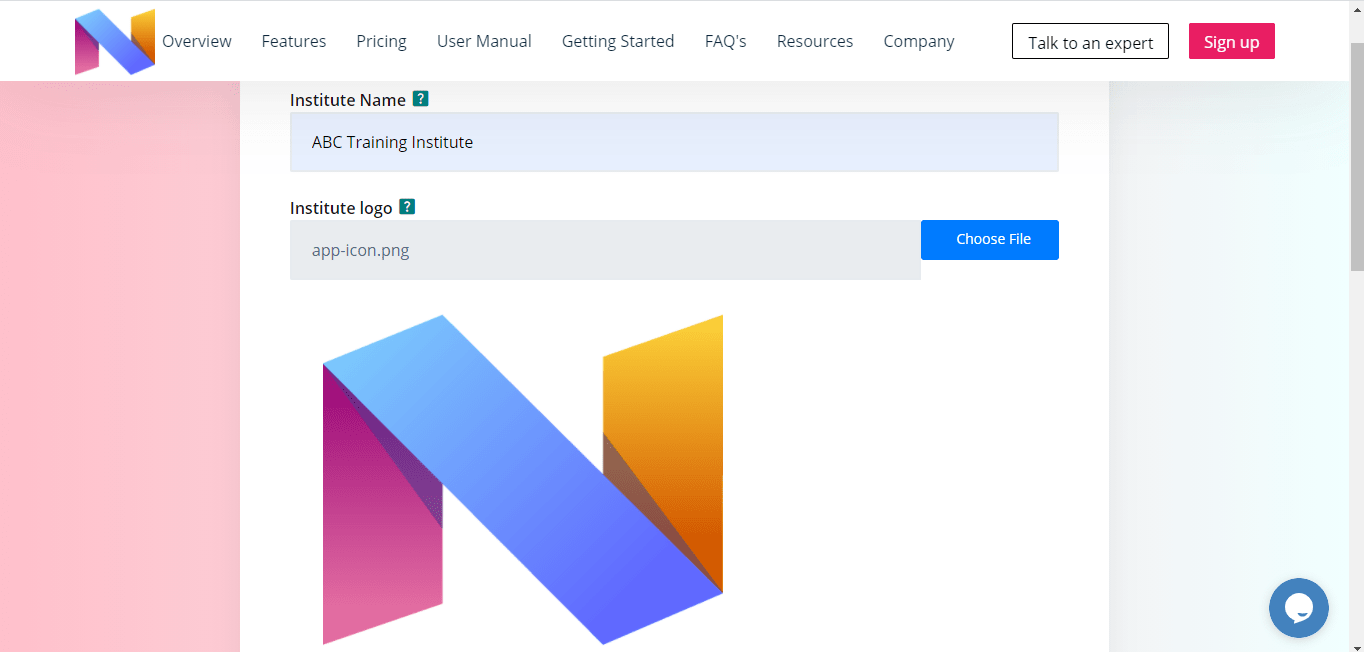
- Mention your Institute name.
- Upload your Institute logo. If you do not have a logo yet, you can upload later in menu Institute->General configuration.
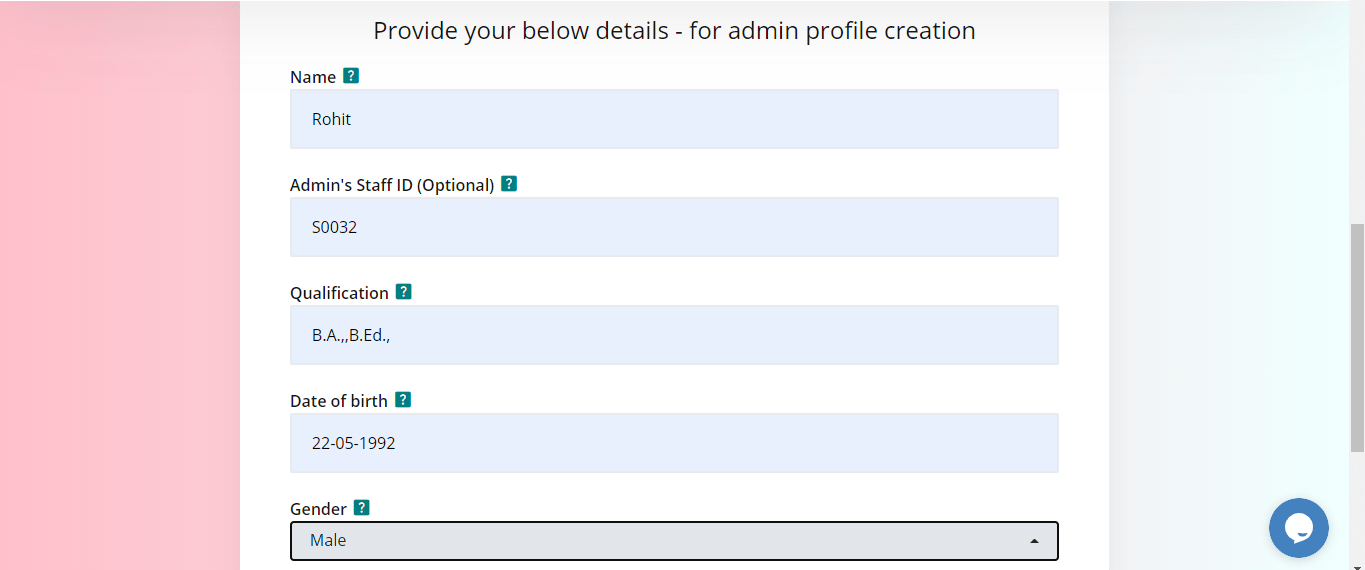
- Mention name of the Admin user.
- By default, the system will provide an auto-generated Employee/Staff ID for admin which can be used. If the institute wants to assign their Staff ID for admin, then that ID can be entered.
- Mention the educational qualification of the admin user.
- Mention the date of birth of the admin user.
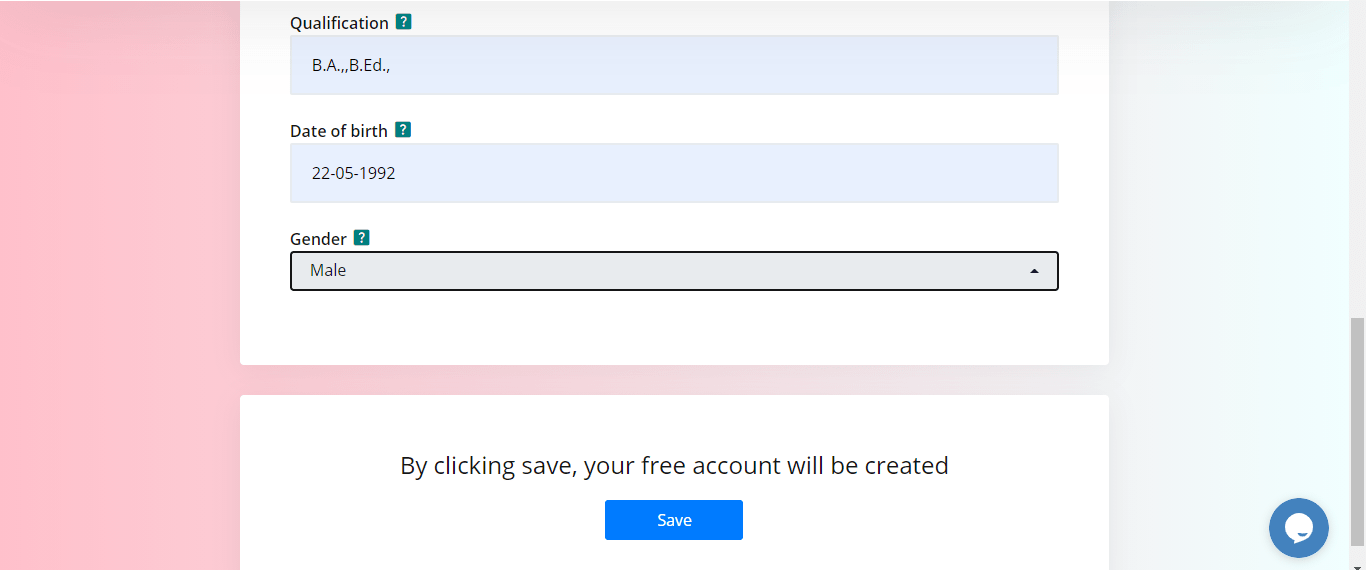
- Mention the gender of the admin user.
- Click "save".
